Unlock the full power of Notion in 2026 and transform chaos into clarity with the ultimate all-in-one productivity tool. Whether you are a beginner or an experienced user, this notion tutorial will give you the confidence to organize your work, projects, and life seamlessly.
In this guide, you will discover Notion’s interface, blocks, pages, databases, customization features, collaboration tools, and advanced productivity strategies. Explore how to streamline your workflows and master every aspect of Notion step by step.
Unlocking the potential of Notion begins with understanding its foundational philosophy. This section of the notion tutorial will walk you through the essentials, from grasping Notion’s modular approach to setting up your workspace for maximum productivity. Whether you are a student, freelancer, or business professional, mastering these basics will set the stage for your Notion journey.

Notion is more than a note-taking app—it is a modular, all-in-one workspace built to adapt to your needs. Unlike traditional productivity tools that force you into rigid workflows, Notion lets you combine notes, databases, tasks, and knowledge bases in a single, customizable environment.
Its popularity has soared by 2026, with millions relying on Notion for:
Compared to siloed tools, Notion’s flexibility allows you to replace apps like Trello, Google Docs, and Evernote, consolidating workflows in one place. For example, a marketing team can manage content calendars, brainstorm strategies, and store assets—all within a shared Notion space. This adaptability is a core reason why the notion tutorial is so valuable for modern productivity.
Getting started is straightforward. Begin by signing up on Notion’s website, desktop app, or mobile app. The process requires your email, a password, and a verification step. Next, you will choose a plan:
In 2026, Notion’s AI add-on remains a powerful upgrade, offering features like smart summaries and content generation for $8-10/month. During signup, you will set up basic security preferences, ensuring your data is protected from the start.
If you are looking for extra guidance, the Notion beginner learning hub offers step-by-step tutorials and foundational resources tailored for new users. This is a great next step after completing the initial notion tutorial.
Once inside Notion, you will find a clean, intuitive workspace. The sidebar on the left houses your main pages, favorites, and workspace sections. The central area displays your selected page, while the top bar provides quick access to search, settings, and notifications.
Navigation is simple:
For instance, a new user might see a default workspace with a “Getting Started” page, a quick notes section, and a sample database. As you explore, the notion tutorial will help you become comfortable moving between areas and organizing your information efficiently.
Personalizing your Notion workspace is key to making it truly yours. Start by setting your profile photo, choosing a workspace name, and selecting an icon that represents your style or brand.
You can adjust essential settings such as timezone, notification preferences, and integrations with other apps. For freelancers, customizing the workspace with a branded icon and focused project pages can streamline client work. Students might benefit from adding class schedules, assignment trackers, and study resources.
These customization steps ensure your workspace feels inviting and organized, making every notion tutorial lesson more impactful as you progress.
Unlocking the potential of Notion pages and blocks is essential for anyone following a comprehensive notion tutorial. Whether you are building a personal dashboard or a sophisticated project management system, understanding these core components will empower you to work smarter and more efficiently.
A Notion page is the foundation of your workspace, acting as a blank canvas for any content. Pages can contain text, images, databases, and even other pages. This hierarchical structure allows for infinite nesting, so you can create sub-pages within pages, forming a clear organizational tree.
To create a page, click the "New Page" button in the sidebar, use the cmd+N or ctrl+N shortcut, or tap the plus icon on mobile. Pages appear in the sidebar, letting you drag and drop to reorder or nest them. For clarity, organize your workspace with main pages for broad topics and sub-pages for specific areas.
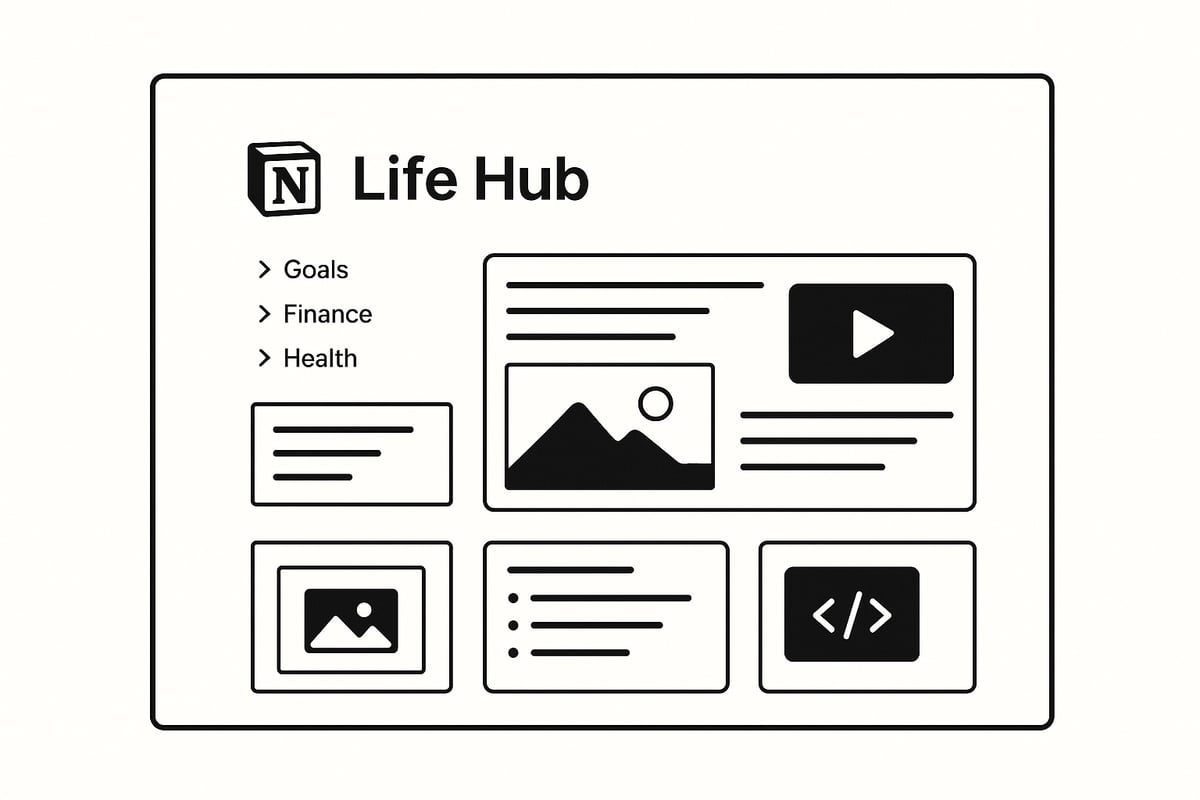
For example, imagine building a "Life Hub" page. You might add sub-pages for Health, Work, and Personal Projects. Each sub-page can hold its own notes, databases, and resources. This flexible approach is a cornerstone of any effective notion tutorial, ensuring your information stays organized and accessible.
| Feature | Page | Sub-page | Block |
|---|---|---|---|
| Structure | Main entity | Nested entity | Content element |
| Example | "Life Hub" | "Health" | Text, image, table |
| Creation Method | New Page | Drag inside | / command |
Blocks are the essential building units in Notion. Every piece of content, from a simple paragraph to an embedded video, is a block. This modular system means you can add, move, or delete blocks anywhere in your pages, giving you complete control over layout and structure.
To add a block, type / and choose from the menu, or simply start typing. Moving blocks is as easy as dragging them to a new location. Deleting is just a right-click away. Rearranging blocks allows you to customize your workflow and adapt your pages to any purpose.
A practical example from this notion tutorial is a meeting notes page. You might start with a heading block for the meeting title, then add bullet lists for discussion points, to-do lists for action items, and file upload blocks for relevant documents. By mixing and matching blocks, you create a workspace tailored to your needs.
Notion offers a wide variety of block types to suit every workflow. Text blocks include plain text, headings (H1, H2, H3), bulleted and numbered lists, to-do lists, toggles, quotes, dividers, and callouts. Media blocks support images, videos, audio, bookmarks, and file uploads, all accessible via drag-and-drop or /media commands.
Embed blocks let you bring in content from over 1,900 sources, such as maps, PDFs, tweets, code snippets, and web content. For instance, planning a trip? Embed a Google Map for locations and a Spotify playlist for travel tunes within your planning page. This versatility is why so many users turn to a notion tutorial for guidance on maximizing these features.
Here is a quick reference:
Customizing blocks in Notion enhances both usability and visual appeal. You can style blocks by changing colors, adding backgrounds, using icons, or building columns for a multi-pane layout. Inline formatting, like bold, italics, or highlights, brings clarity to key points.
Slash commands are a powerful feature in any notion tutorial. Typing / opens a quick menu for inserting any block type. Try creating a dashboard with colorful callout blocks and columns for a visually engaging overview.
Example slash command usage:
/callout Add a reminder for the week
Experiment with layouts, colors, and icons to build unique dashboards that reflect your workflow and personality. With these advanced block features, your Notion workspace becomes both functional and inspiring.
Personalizing your Notion workspace is where the platform truly shines. A well-designed setup not only looks appealing but also streamlines your workflow. In this notion tutorial, you will learn how to style your pages, use templates, and create a workspace that feels uniquely yours.
The first step in this notion tutorial is configuring the look and feel of your workspace. Notion offers several options to tailor each page to your preferences. Adjust the width to suit your content, select from three font styles, and add icons or covers for instant visual recognition.
For personal branding, upload a custom image as a cover or choose from Notion’s gallery. Use workspace icons to identify projects at a glance. Columns and dividers help organize information, making dashboards more readable and professional.
For example, a freelancer might create a project dashboard with their logo as the cover, color-coded columns for clients, and a personalized icon. A student could use subject icons and themed covers for each class page, keeping everything organized and visually distinct.
Effective content styling is essential in any notion tutorial. Use bold, italics, and highlights to emphasize key details. Code snippets are perfect for technical notes, while quotes and callouts draw attention to important reminders.
Color coding helps prioritize tasks. Assign red to urgent items and green to routine tasks. Toggle blocks or dividers can break up sections, making information easier to scan.
Consider this approach for your to-do list:
These visual cues help you stay focused and quickly identify priorities as you navigate your workspace.
Templates are a powerful feature covered in this notion tutorial. They provide ready-made structures for common workflows, ensuring consistency and saving time. Notion’s template gallery includes options for project management, habit tracking, and personal knowledge bases.
To use a template, select one from the built-in gallery or duplicate a community template. Customize it to fit your workflow by editing properties, rearranging blocks, or adding your branding. Building your own templates allows you to standardize processes, such as weekly planning or client onboarding.
For example, adapting a “Second Brain” template can help you organize notes, tasks, and resources in one place, supporting a holistic productivity system.
A key resource highlighted in this notion tutorial is Notionland, offering a wide selection of free and premium Notion templates. These templates can accelerate your workspace setup and help you implement best practices quickly.
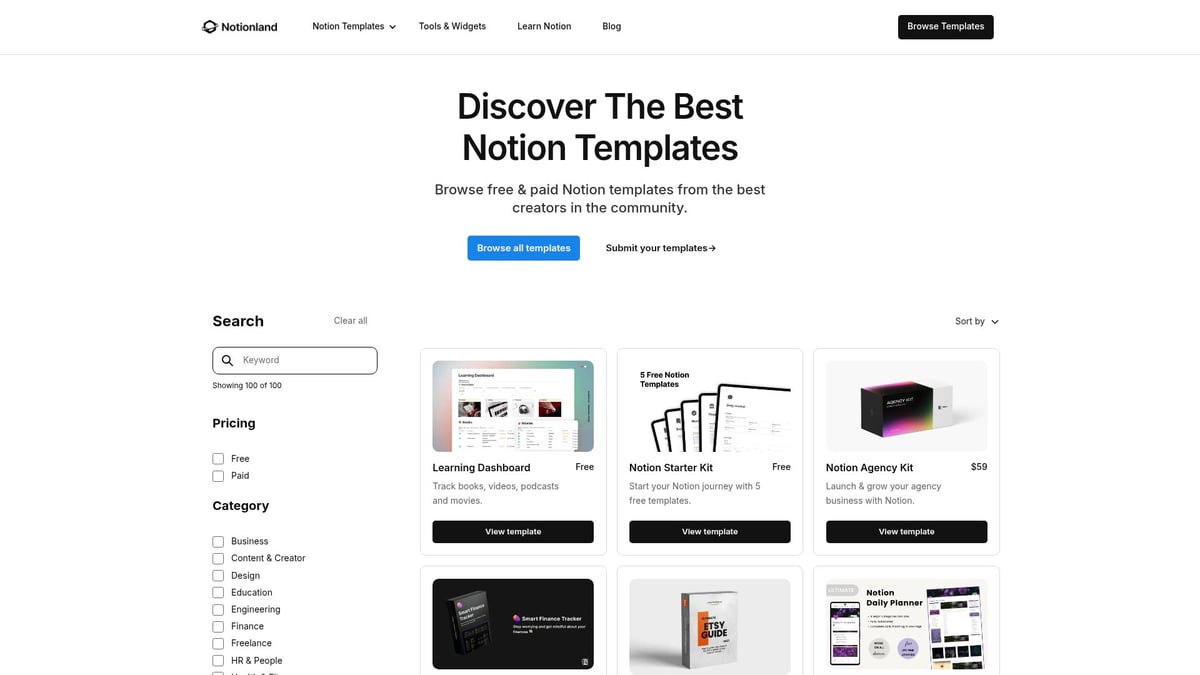
Popular options include the Freelancer Kit, Notion Second Brain, and Weekly Habit Tracker. Each template is designed to solve specific productivity challenges, whether you are managing projects or building better habits.
Joining the Notionland community grants access to exclusive resources, updates, and support. Explore the Notion templates collection to find inspiration and take your workspace customization to the next level with this notion tutorial.
Unlocking the full potential of databases is essential for anyone following a notion tutorial. Notion databases transform scattered notes into structured, actionable insights. Whether you are tracking projects, managing a CRM, or building a content calendar, databases offer the flexibility and power needed to organize complex information with ease.
In any comprehensive notion tutorial, understanding databases is crucial. A Notion database is more than a table; it is a dynamic, filterable collection of information. Notion databases come in several formats: Table, Board (Kanban), List, Calendar, Gallery, and Timeline.
Common use cases:
Each type serves a unique workflow, making databases a core feature for users aiming to centralize their digital life. The modularity of databases is what sets Notion apart from traditional productivity tools.
A notion tutorial must guide users through creating their first database. You can add a database as an inline element on a page or as a full-page object for standalone use. Start by clicking "Add a new page," then select "Database" and choose your preferred type.
Key database properties:
| Property Type | Usage Example |
|---|---|
| Text | Task description |
| Number | Budget tracking |
| Date | Deadlines |
| Select | Status (To-do, Done) |
| Multi-select | Tags or categories |
Personalize your database by adding properties that match your workflow. As you progress in your notion tutorial journey, customizing properties becomes second nature.
Databases in Notion support multiple views, each tailored to different needs. For example, a Table view is ideal for data entry, while Board view visualizes tasks in lanes. Calendar and Timeline views help with scheduling and planning.
Switch between views by clicking the view selector at the top of your database. Customize each view to show relevant properties and filters. For creative projects or visual content, Gallery view shines. For a deeper dive, consult this Guide to Notion Gallery View, which details setup and customization tips.
A robust notion tutorial will encourage experimenting with views to find what best supports your organization style.
Mastering filters and sorting in your notion tutorial ensures your database remains useful as it grows. Filters focus on the most relevant data, such as tasks due today or items assigned to you. Sorting arranges items by priority, date, or custom criteria.
Quick filtering tips:
The search bar within databases enables instant access to specific entries, making information retrieval seamless.
A powerful feature highlighted in any advanced notion tutorial is database relations. Relations connect two databases, such as linking tasks to projects or clients to deliverables. This creates a network of information, making cross-referencing effortless.
Rollups work alongside relations, summarizing data from linked databases. For example, you might display the number of completed tasks within a project page. This interconnected approach transforms Notion into a true knowledge hub.
Building these links simplifies tracking progress and managing complex workflows across your workspace.
Take your notion tutorial further with advanced database strategies. Notion allows you to create templates within databases for recurring entries, such as meeting notes or weekly tasks.
Sample recurring task template:
## Weekly Review
- Review completed tasks
- Plan next week’s priorities
- Update project statuses
Formulas add automation, such as calculating totals or flagging overdue items. For habit tracking, use formulas to tally streaks or progress. These advanced features empower you to build custom productivity systems tailored to your needs.
With these techniques, you can maintain a streamlined, dynamic workspace that evolves as your projects grow.
Collaboration is at the core of any effective workspace, and Notion makes it seamless for teams and individuals alike. In this notion tutorial, you will learn how to invite collaborators, manage permissions, and create a productive shared environment.
Getting started with collaboration in Notion begins by inviting members to your workspace. Click the "Invite" button, enter email addresses, and assign permission levels. Notion offers granular control: full access, can edit, can comment, or can view only.
For group projects, this notion tutorial recommends setting clear permissions from the start. For example, give editors full access to key pages while restricting sensitive areas to view-only. This structure keeps your workspace secure and efficient.
Notion enables real-time editing, allowing multiple users to work on a page simultaneously. You will see collaborators' avatars and live cursor movements, making teamwork smooth and transparent.
Comment threads and mentions bring context to discussions. Use them to ask questions or assign tasks directly within the page. The version history feature lets you restore previous states, which is especially helpful for teams following this notion tutorial.
Sharing information outside your workspace is simple. Notion lets you generate public links or invite guests to specific pages. This is perfect for publishing resumes, portfolios, or knowledge bases.
If you want to share documentation or project updates, this notion tutorial suggests using the web publishing feature. You can control link access and revoke it anytime, maintaining privacy when needed.
To maximize productivity, Notion supports integration with popular tools like Google Drive, Slack, GitHub, and more. You can embed files, calendars, and live content directly into your pages.
For advanced workflows, explore the Notion tools and widgets directory to discover resources that streamline your processes. This notion tutorial highlights how these integrations can unify your team's apps for a truly connected workspace.
For optimal collaboration, use clear naming conventions for pages and databases. Organize your sidebar logically, separating personal and team spaces.
Leverage Notion templates for standardized workflows, such as onboarding guides or SOPs. Regularly audit permissions and keep your workspace decluttered. By following these best practices, this notion tutorial ensures your team stays productive and aligned.
Unlocking advanced workflows in your notion tutorial is the key to scaling your productivity in 2026. As Notion evolves, so do the strategies and tools you can use to streamline your work, manage complex projects, and automate routine tasks. Let us explore how you can tap into Notion's latest features and best practices to build a system that adapts to your needs.
In 2026, Notion AI has become an indispensable asset for professionals and teams. With capabilities such as Q&A, autofill, and an AI writing assistant, users can automate meeting summaries, brainstorm ideas, and generate reports with remarkable accuracy. The AI seamlessly integrates into your daily workflow, allowing you to delegate repetitive documentation tasks and focus on higher-level strategy.
For a comprehensive overview of these features, consult Notion's AI Features Overview. This resource explains how Notion AI supports knowledge management, enterprise search, and document generation, making your notion tutorial experience more efficient. Experiment with AI-driven blocks to summarize research, draft emails, or analyze data directly in your workspace.
Automating tasks within your notion tutorial saves time and reduces manual effort. Built-in automations, combined with third-party tools like Zapier or Make, allow you to trigger reminders, update statuses, and send notifications without lifting a finger. Notion’s robust API supports advanced integrations with external platforms, from Google Drive to Slack.
Discover how Notion's AI Integration with Multiple Platforms elevates workflow efficiency. For example, you can set up an automation that converts incoming emails into actionable Notion tasks or automatically syncs calendar events with your project boards. Use templates to standardize recurring processes and further streamline your notion tutorial setup.
A powerful aspect of any notion tutorial is the ability to construct a “Second Brain.” Capture ideas, notes, and resources in interconnected databases for easy retrieval. Link related information using Notion’s relation and rollup properties, creating a web of knowledge that grows with you. This holistic approach ensures nothing slips through the cracks.
To get started, create a “Knowledge Hub” page and nest sub-pages for articles, book notes, and project references. Use linked databases to connect tasks with supporting documents, making research and project planning seamless. Regularly review and update your system to keep it organized and relevant.
Dashboards pull together your most important information in one view, enhancing your notion tutorial journey. Combine multiple databases, linked views, and widgets to build custom dashboards tailored to your workflow. Visualize goals, deadlines, and progress with dynamic filters and summary tables.
For example, set up an all-in-one life dashboard where tasks, goals, calendar events, and notes are just a click away. Use columns and callouts to segment information visually. Add charts or progress bars for a quick overview of your achievements and upcoming priorities.
Mastering project management in your notion tutorial involves leveraging templates and structured workflows. Implement proven methodologies like Getting Things Done (GTD), sprints, or agile boards using Notion’s flexible templates. Use databases to track tasks, assign owners, and monitor progress across teams or solo projects.
Adopt a weekly review template to reflect on accomplishments and adjust priorities. Create recurring task templates for meetings, checklists, or retrospectives. This ensures consistency and saves you time as your projects scale. The adaptability of Notion means your system can evolve alongside your workflow.
Scaling Notion for organizational use requires thoughtful structure and governance. In your notion tutorial, focus on workspace organization, permission management, and standardized templates for each department. Use team dashboards, shared databases, and integrated communication tools to foster collaboration.
Set up role-based access controls to safeguard sensitive data while promoting transparency. Develop a company wiki or onboarding guide using templates for HR, marketing, or sales. Leverage integrations to connect Notion with other enterprise apps, keeping your business agile and responsive in 2026.
Continuous improvement is vital in any notion tutorial. Schedule regular audits to declutter unused pages and databases. Stay updated on new Notion features and best practices by joining the Notion community, subscribing to newsletters, or following tutorials.
Here are a few strategies for longevity:
A well-maintained workspace empowers you to adapt quickly and ensures your Notion system remains a productivity powerhouse.
As you explore the fundamentals of Notion and start building your perfect workspace, it is clear that the right tools and resources can make your journey much smoother. Whether you are organizing projects, creating databases, or customizing dashboards, having access to expertly crafted templates and productivity solutions can truly accelerate your progress. If you are ready to take your Notion setup even further and unlock new levels of efficiency, I encourage you to Shop Now for exclusive resources that complement everything you have learned in this guide. Your most organized year yet starts here.